
Before we start our Bow and Arrow project, we'd like to give you some background on the traditional bows and arrows of the Wampanoag people.
The Wampanoag bows were traditionally made out of maple, ash or hickory wood. The arrows were made of dogwood with flint, bone, quartz points and sometimes copper. The bow string was usually made of the muscle from a moose’s spine. Turkey feathers were used as fletching for the arrows. Quivers were made from reed, skin, rawhide or even whole animals such as a fox. In Wampanoag culture little boys would have small bows and arrows that had no tips on them.
According to the exhibition catalog Gifts of the Forest by the Mashantucket Pequot Museum and Research Center, “For the Native artist, the creation of the item involves an awareness of the gift of life. Trees are selected with reverence and compassion for their sacrifice. The artist acknowledges this sacrifice by leaving a gift, often tobacco, for the spirit of the tree. In the words of [Mohawk] artist Joel Monture, “The traditional artist who skins a deer, cuts a tree, or digs clay comes closer to life and earth through active, rather than passive, participation with the realization that all things come from and eventually return to earth.’”
To learn more about the Wampanoag Long Bow, there’s a video with Philip Wynne Many Hands, Site Supervisor for the Wampanoag Homesite at Plimoth Plantation who talks about the long bow and how he makes arrows in the traditional manner. The video is at:  https://vimeo.com/71827012
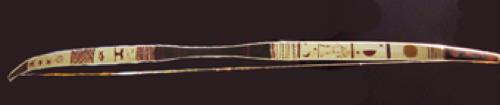
These are some photographs of a Wampanoag Long Bow which can be seen at Plimoth Plantation.
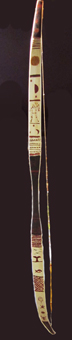 Long Bow
 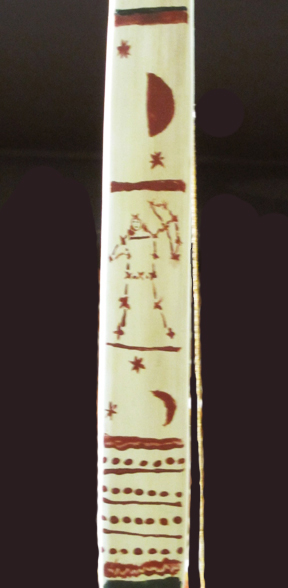 Close up of upper portion
 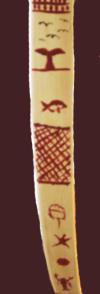 Close up of lower portion

Our Bow and Arrow
![]()
![]()
Materials:
Serrated knife such as a steak knife or bread knife. If you don’t have either of those, any sharp knife will work.
Popsicle Stick
Dental Floss
Q-Tips
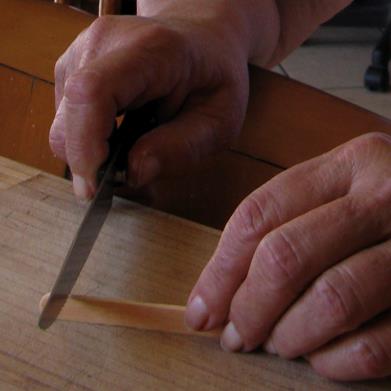
Directions:
Cut 4 small notches on the popsicle stick. One notch on each side of the popsicle stick and repeating this on the other end.
Soak the popsicle stick in water for an hour or more.
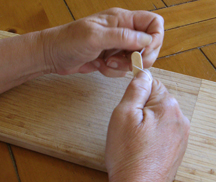
On one end of the popsicle stick, cut a length of dental floss and and fit it into the two notches you cut, wrap it a few times and then knot it.
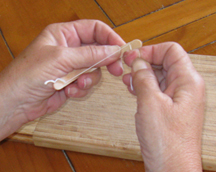
Bring the dental floss to the other end of the popsicle stick and pulling gently make the popsicle stick curve, then insert the floss into the notches, wrap a few times and knot. Make sure the floss it taut.
Cut off one end of a Q-tip for the arrow. You might want to make a few of these.
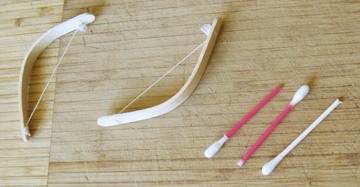
You can decorate your bow with markers or fine tip pens or leave it plain.
To shoot your bow and arrows, grab the end of one of the Q-tip arrows with your thumb and forefinger, place the end against the floss and pull and release.
![]()
These arrows can really fly far and are so much fun. Everyone who came to our house during the project, whether they were young or old, had a great time and couldn’t quit playing with them. It’s amazing how much fun a popsicle stick, some floss and a few Q-tips can be!!!